
Skill Level - 1.5 Time Factor Cuteness Factor
Try this for: short, baby hair or thin hair. THIS WEEKS COUPON CODE: Now go enjoy your day! -The Homestylemom
Thursday, September 3, 2009

Saturday, June 13, 2009
What's in Your Toolbox: Tools of the Trade


1-Spray bottle: I use a trigger spray bottle filled with water to mist dry hair, for parting and to smooth fly aways.
2-Elastics: in a lidded container to control runaways. Two sizes. Small clear or any color imaginable about the size of a dime. Available in any Wal-mart, Target, etc. These are cheap!!! 500 for $1 at the Dollar Tree. Also, for longer hair or large ponytails I use the larger version that fits around your wrist to secure big bunches of hair.
3-Clips/clamps: like your hairstylist uses. These are usually plastic and shaped like an alligator. Use to clip hair out of your way or as an extra hand.
4-Curling Gel - love, love, love this for defining Ruby's natural curls. Garnier's Curl Sculpting Cream Gel.
5-Hair Spray - your choice. I am a big hair aerosol girl from the South.
6-Heat Protectant - again your choice.
7-Topsy Tail - yes, remember this. If you can't do pull through pony knots get yourself one of these. The kit comes with two sizes. Referred to by me as TT.
8-Bobby Pins - self explanatory. They hold best when x'ed over one another.
9-Leave In Conditioner - I use Infusium 23, put it in a spray bottle, and call it "Princess Potion." So necessary if you've got a curly girl.
10- Paddle brush, rat tail comb, wet comb.
Collect these as you need them and you'll soon see what you need and what you don't.
-The Homestylemom
Friday, November 7, 2008
Wrapped Ponytail with Piggies for Medium Hair
Here is Ruby again and her hair is a jewel to work with for sure! It is at a great length right now and I love to just play in it. You may not have much time for playing in the morning if you are on your way out. This 'do is sure to please Mama and girl with plenty of compliments heading your way. Skill level - 3, Time factor - 2, Cuteness - 4. This is the new 5 point ratings scale I plan to use when sharing new 'dos with you.
Gather your toolbox and here we go. You will need 5 elastics for this one. You can use wet or dry hair.
1-Bush hair until it is smooth and shiny.

2- Part hair: I am a side parter but the middle works great too. If she has a cowlick, perfect, use that.

3- Separate out a section from each side of the part and secure each in an elastic. Stay forward of the top of the ear.

4- Take a small section of hair from each of the ponies, wrap the pony and pull through using your finger or your TT.
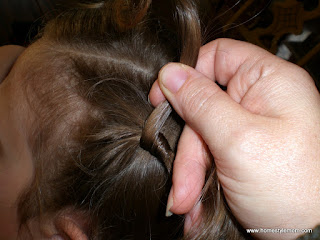

5- Outta time? You can stop here as this is a cute look too. Still with me? Well here we go. Part out a great big section from the middle of the crown, smooth it with your brush.

6- Take the front 2 ponytails and add them to this section of hair from the crown. Secure with your 3rd elastic band.
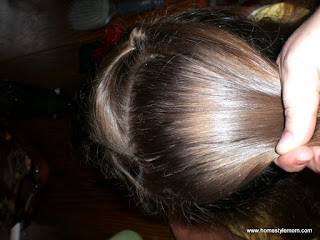
7- Once again, wrap this ponytail elastic with hair and secure inside itself using your favorite method. This style is cute too. Stop here if you like or continue on...

8- Part the remaining hair down the middle and secure with your two remaining elastics. Be sure to divide the pony from above and include half in each pigtail section. On your last time through you can pull the piggies only partway through. This will make a nice, full fun look. Or, you can pull through and allow them to hang the traditional way, depending on how long her hair is.

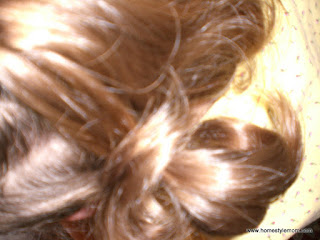 Here it is au natural...

 Or, with the sweet little Boutique Bow Set that you can find here in my shop.

 Now go enjoy your day together1
-The Homestylemom
Gather your toolbox and here we go. You will need 5 elastics for this one. You can use wet or dry hair.
1-Bush hair until it is smooth and shiny.

2- Part hair: I am a side parter but the middle works great too. If she has a cowlick, perfect, use that.

3- Separate out a section from each side of the part and secure each in an elastic. Stay forward of the top of the ear.

4- Take a small section of hair from each of the ponies, wrap the pony and pull through using your finger or your TT.


5- Outta time? You can stop here as this is a cute look too. Still with me? Well here we go. Part out a great big section from the middle of the crown, smooth it with your brush.

6- Take the front 2 ponytails and add them to this section of hair from the crown. Secure with your 3rd elastic band.

7- Once again, wrap this ponytail elastic with hair and secure inside itself using your favorite method. This style is cute too. Stop here if you like or continue on...

8- Part the remaining hair down the middle and secure with your two remaining elastics. Be sure to divide the pony from above and include half in each pigtail section. On your last time through you can pull the piggies only partway through. This will make a nice, full fun look. Or, you can pull through and allow them to hang the traditional way, depending on how long her hair is.


-The Homestylemom
Monday, November 3, 2008
Something Squirrely
 This is another 'do for the lil' shorties out there. We do alot of headbands with this cut too but I did want to show you another quick and spunky style that will get you out the door in no time. 1-Start by gathering your toolbox and parting the hair as shown.
  2-Separate out your front two sections and secure with elastics. You can do this with or without bangs. Either way will look cute.
3-Just behind the ear, separate out another 2 sections. Include the hair from the front ponytail and secure each side with an elastic as shown below.

4- Insert the bows, ribbons or barrettes of your choosing.
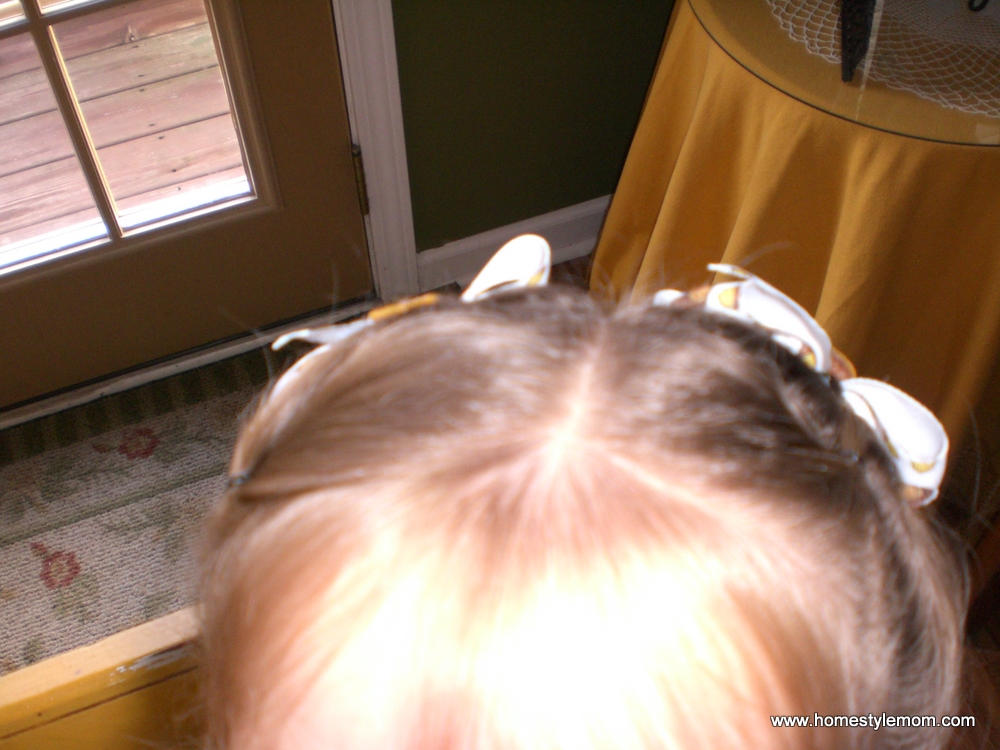
5- And Voila!! A Perfectly spunky do for your precious little girl.

-The Homestylemom
Tuesday, October 21, 2008
Playtime Piggies


The Homestylemom
Saturday, September 27, 2008
Party Pigtails
I love my 2 little girls. I love that they are girls. I love that they play with girls... That is precisely what they are GIRLS! What is the big deal if they like to play swords or guns or soccer? Does it matter what they play with and how they play? I believe so. That is why I plan to purposely dress them and train them for their role as girls, ladies, and women. We talk often as we are playing together about how much I enjoy being their mommy and that I wouldn't be happy doing anything else. Girlhood is short so make the most of it!
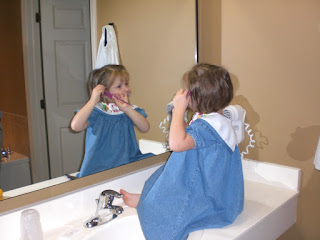 Here is a shot of Firefly getting ready for her 4th birthday.It's not the best 'do for her little bob but it allows me to add some pizazz up top for her big day.
1- With your rattail comb just part the hair slightly off center (or whatever your parting preference is) then, 2- collect two even sections from in front of the ears on each side. 3-Secure with elastics. I find that I like to do this so that the style lasts all day. Her hair remains secure and in place without the assistance of the bows. They are just there to be the "icing on the cake" so to speak. 4- Add your bows or ribbon of choice and you are good to go.
 I just love how these loopy bows turned out! They are bright and cheery just like Firefly..
-The Homestylemom

1- With your rattail comb just part the hair slightly off center (or whatever your parting preference is) then, 2- collect two even sections from in front of the ears on each side. 3-Secure with elastics. I find that I like to do this so that the style lasts all day. Her hair remains secure and in place without the assistance of the bows. They are just there to be the "icing on the cake" so to speak. 4- Add your bows or ribbon of choice and you are good to go.

-The Homestylemom
Wednesday, June 11, 2008
The Accessory Aisle: Headbands II

So last week I vowed to find a way to keep a headband in my lil' lady's hair. I've decided to try to weave it in place. Firefly's hair bob is just too short for me to try to weave something into it so I used Ruby's thick, wavy tresses instead. She's got the curly locks rather than the straight strands that this style would be more suited for, but here goes. You will need several elastics, based on the number of sections you'd like to make. We made 6 across the front. Instructions are below each photo.


2- Divide the front hair in half and get one side out of your way.

3- Separate each half into three sections that you secure close to the scalp with elastics.

4- Here are our 6 sections across the front.

5- Now place the headband in the hair. Split the front two ponies in half and cross your two front center pieces over each other forming an X.

6-Secure these X'ed ponies into an elastic. Use just a small section of hair from the crown. Secure it closely to the headband in order to hide it and to keep from having the "slide up lumps" when you tighten them.
NOTE: I should have used the elastics we have that match her hair color in order to avoid the stark contrast. You really want the pony elastics to not show.

7- Continue to divide, X, and secure from the middle out until you are left with one remaining outside tail at each ear.
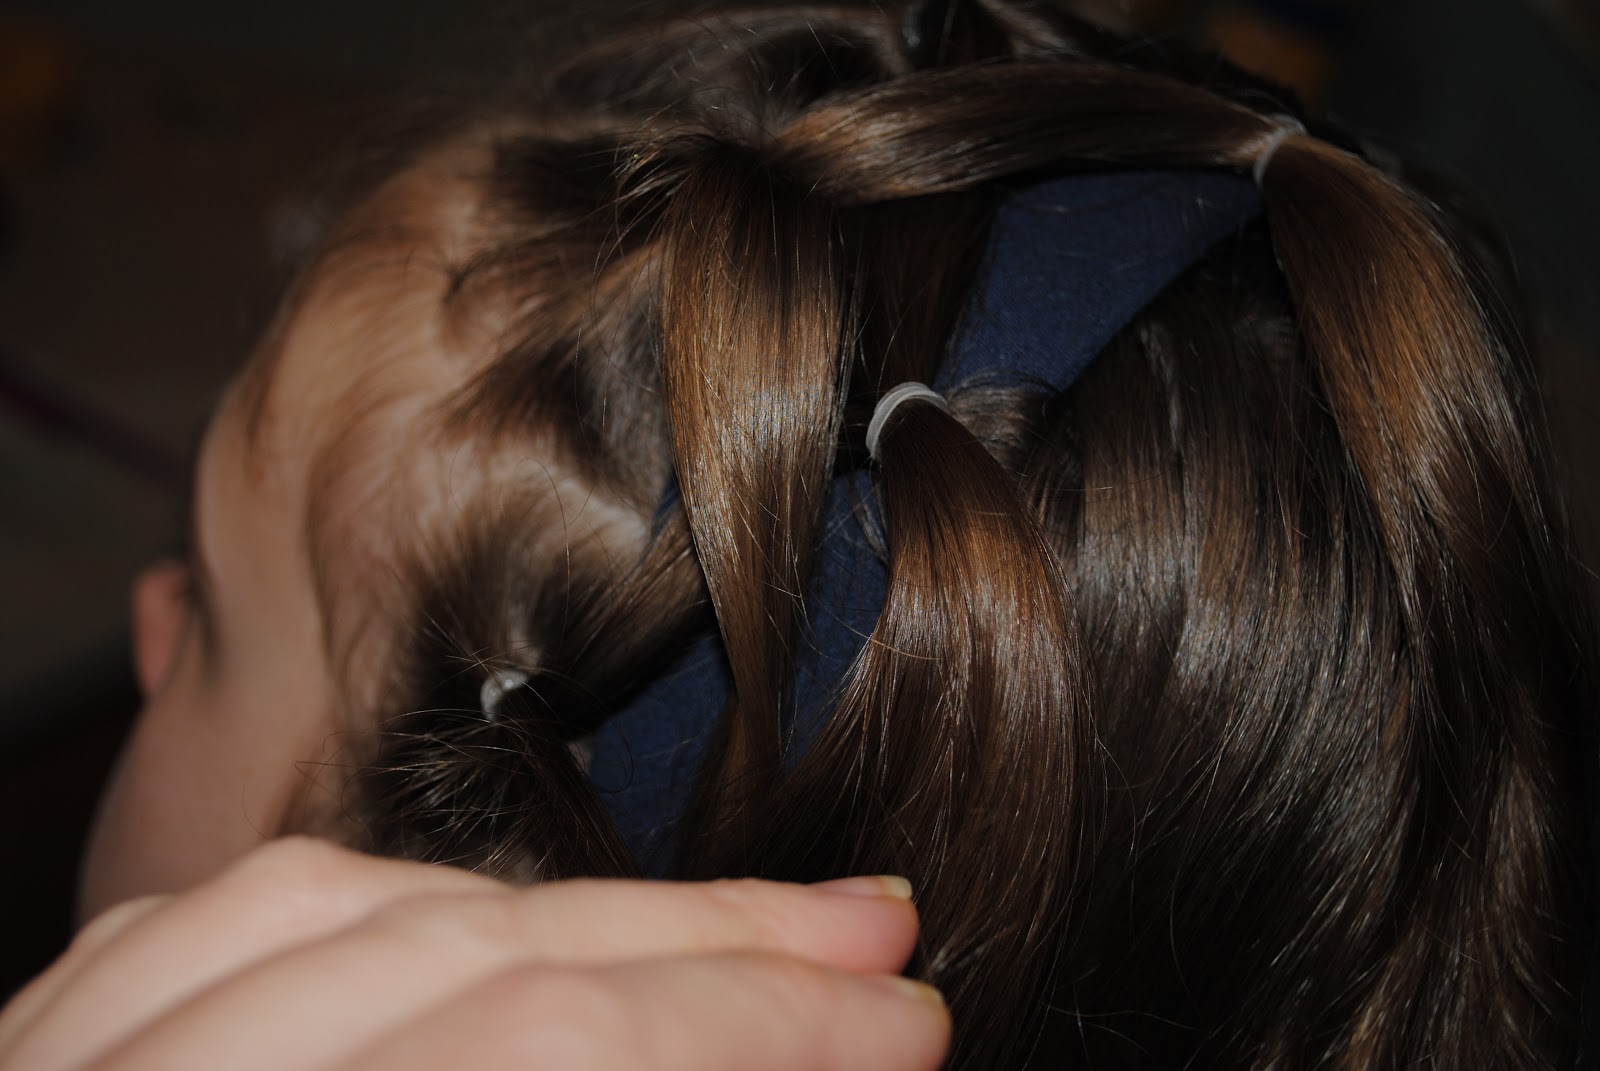

9- Secure this section with an elastic at the nape of her neck.

Now go enjoy your day with your headband in place!
-The Homestylemom
Subscribe to:
Posts (Atom)


