Showing posts with label short hair. Show all posts
Sunday, February 12, 2012
Over The Top Twists
Try this for: Short to medium hair. Skill Level - 2.5 Time Factor - 2.5 Cuteness Factor - 3
Warmer weather will be here soon. Do you need a fun Sunday Morning hairdo? Is your little girl in a wedding this spring? Then this hairstyle may be the answer you are looking for. Grab your toolbox, plug in your heat styling tool of choice and let's begin. We are going to need about 30 minutes for this trendy updo.
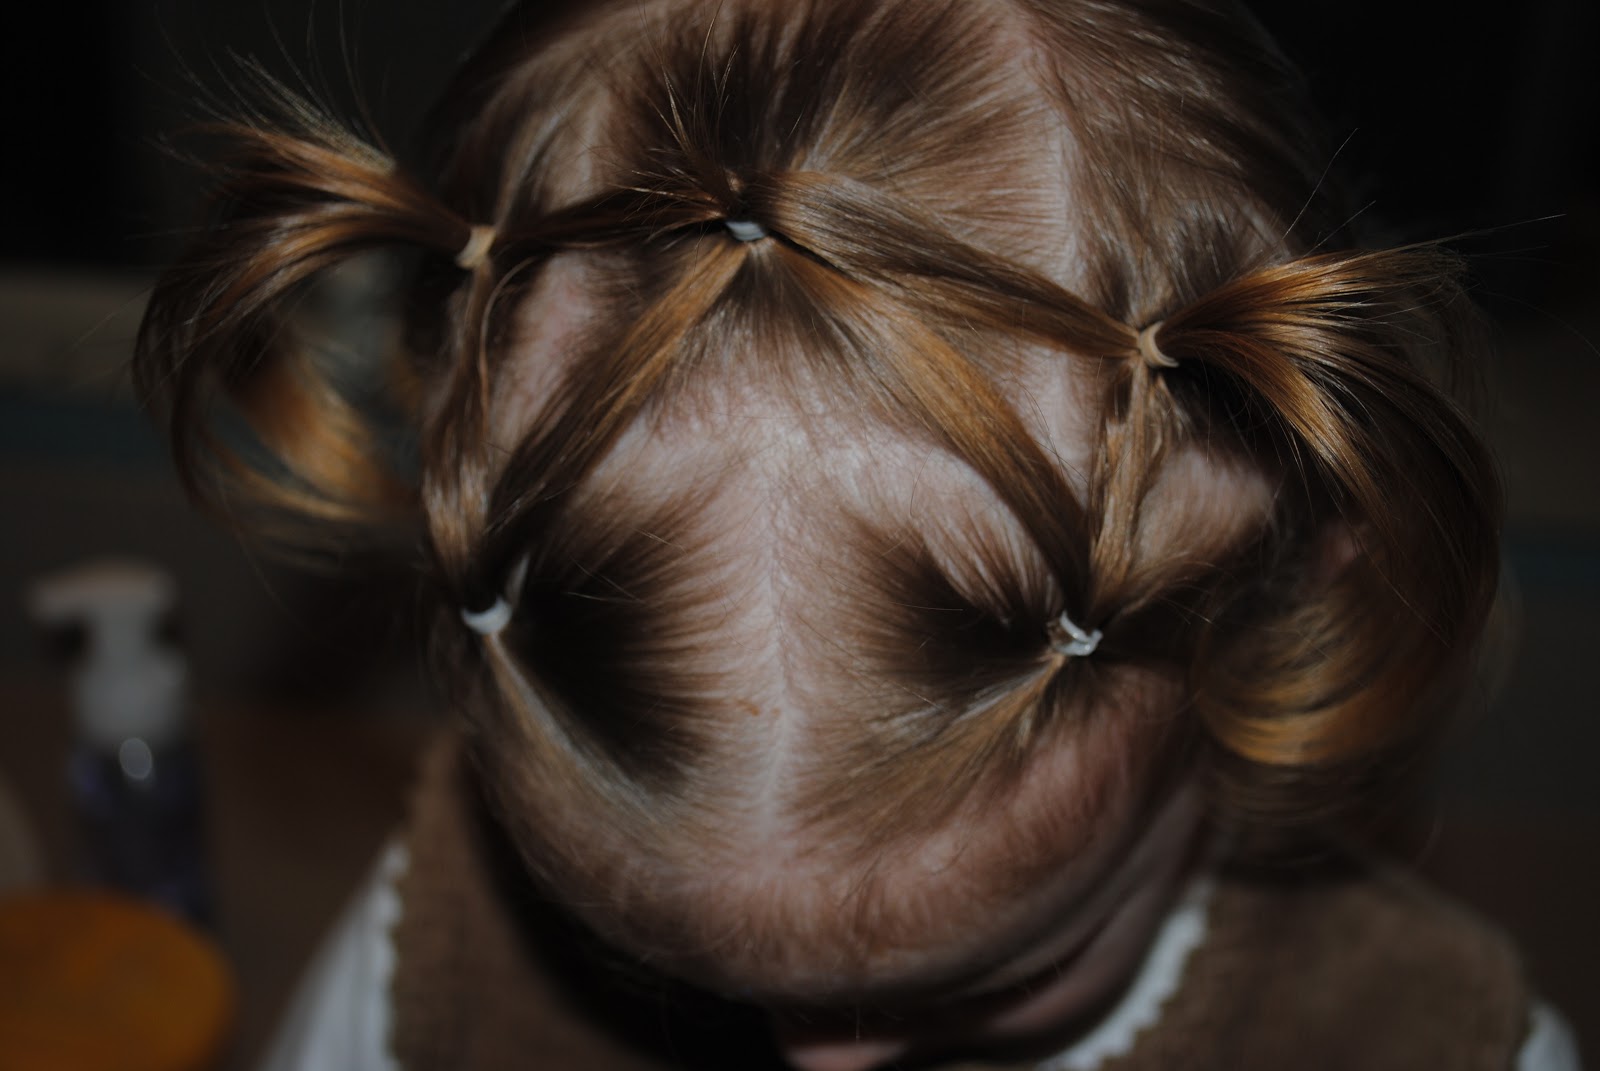
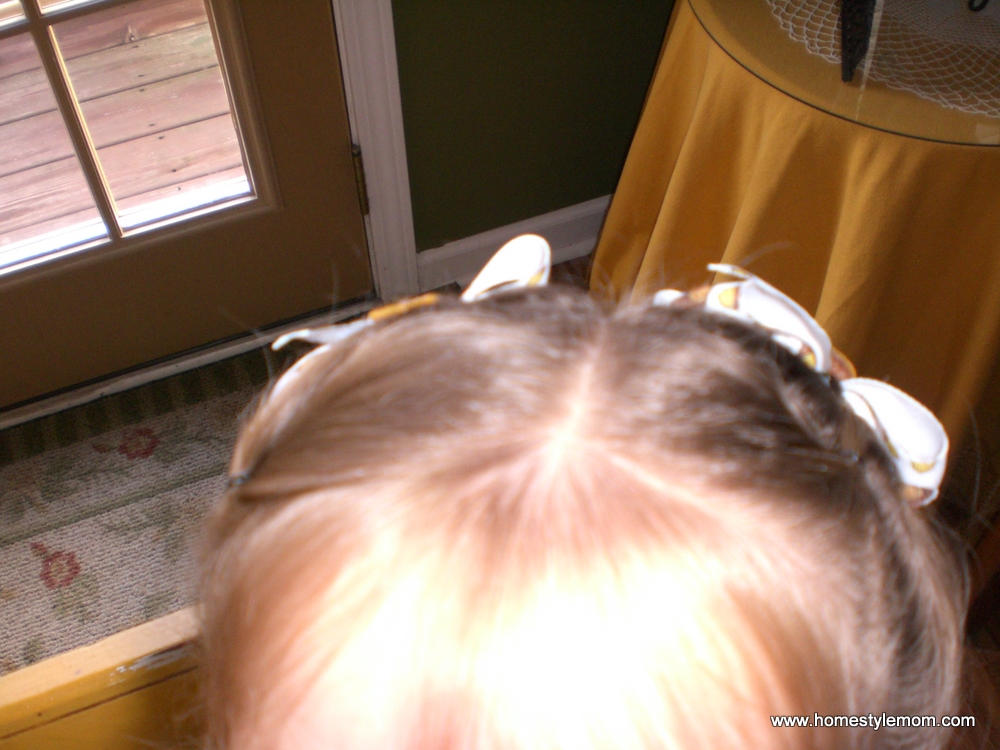
1- Part out a circular section of hair right at the crown and secure it with an elastic or clip.
2- Spray and part the bangs in your favorite location. We are side parters.
3- Take the bangs on the right side and separate into two sections and begin to twist. Go here if you need a twist tutorial. You may want it soft. I like to comb as I go to keep it very tight and neat. Keep it rather high and straight rather than following the hairline down. When you get to the center back, secure with an elastic or clip.
4- Repeat on the left side of head as well.
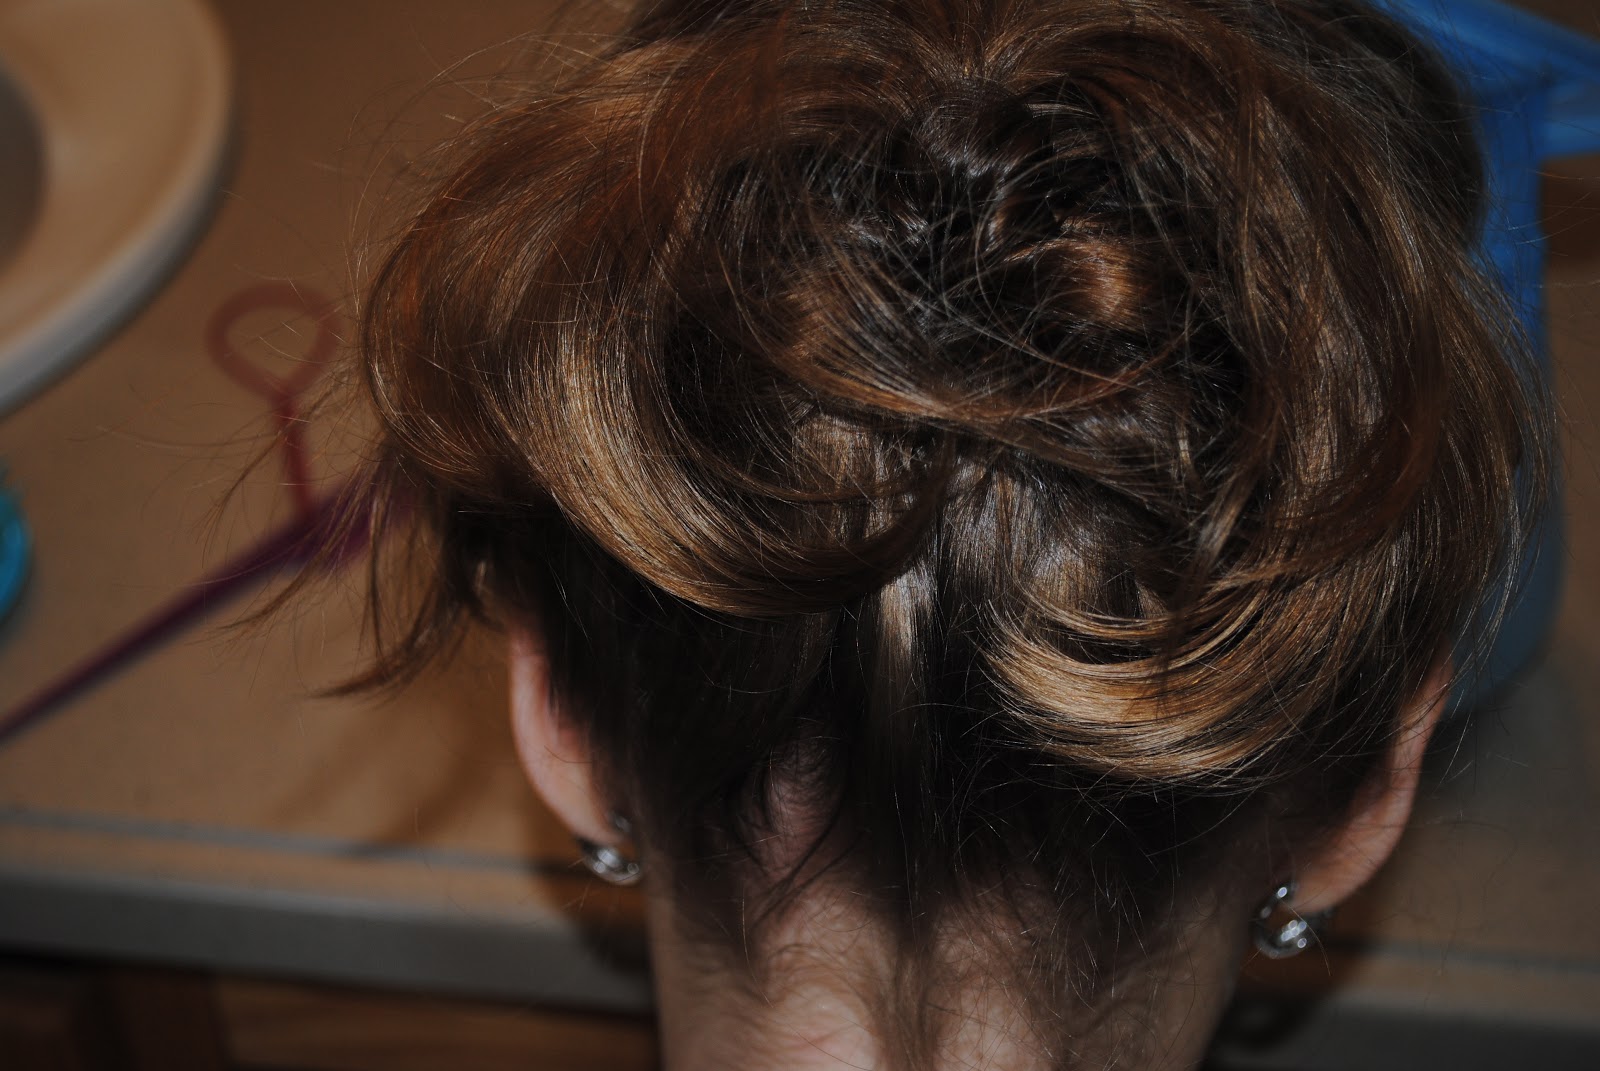
5- Gather the two twists into an elastic at the back of the head as shown below.
6- Using your fingers or TT tool, pull the ponytail up from the bottom and out the top.
7- Fluff and tease this hair as desired. This will help fill out and "fluff" your updo.
8- Gather and prepare several bobby pins for use. Twist the center section of hair and secure with as many bobby pins as you need to make it secure atop her head. Be sure to anchor them by criss-crossing for best staying power.
9- Spray remaining hair with heat protectant. We like Aussie because it smells good :)
10- Use your curling iron or favorite heat styling tool to curl SMALL sections of hair.
11- Repeat as much or little as desired to create piles of curls, strands of ringlets, or just fullness with the hair.
12- Take some photos and enjoy your lovely little girl and her special day!
This would look terrific adorned with tiny fresh flowers, a sparkly headband, or even a simple ribbon.
For some great accessory ideas be sure to check out my shop. Enjoy 15% off any item with THIS WEEKS COUPON CODE: BRRR2012.
Now go enjoy your day!
-The Homestylemom
Labels:
Big Girl,
Church Hair,
curly,
fancy,
Fine,
girl hairstyles,
girls hair bows hairstyles,
headband hairstyles,
medium,
short hair,
Summer Hair,
Sunday Tresses,
Tween,
twists,
UpDo
Tuesday, February 7, 2012
Bed Bug to Love Bug
Try this for: Thin or short hair. Super long hair without bangs.
Skill Level - 2 Time Factor - 2 Cuteness Factor - 2
This week Merry had a bit of a bug and was pretty pitiful for much of the day. I was glad when the end of the week came and she was ready for "hairdo me." That is what she says when she is ready for me to do her hair.
This really is a simple 'do That is based on a 2-1-2 pattern with elastics. Begin by wetting and parting out the front of the hair into two sections. Secure with elastics.
Gather a horseshoe-shaped section of hair at the top of the head and pull it into a pony with Half of the front right ponytail and Half of the front left ponytail.
Part the hair behind that center pony to the top of the ear in half. Split that top center pony in half and secure it into an elastic with the parted hair on the left AND the hair from the front left pony. Take the remaining hair from the top center and put it into and elastic on the right side of the head with that hair AND the hair from the front right pony. I like to place these right on top and close to the head so that they spring to life! That is the main reason they look so adorable on little ones. It is like a bugs antennae sitting atop her head.
And now the front top view.
And here she is from the front. This would also look TERRIFIC with a pair of ponytail bows from my shop.
THIS WEEKS COUPON CODE for Free Shipping: LuvBug12. Now go enjoy your day!
-The Homestylemom
Monday, November 3, 2008
Something Squirrely
3-Just behind the ear, separate out another 2 sections. Include the hair from the front ponytail and secure each side with an elastic as shown below.
4- Insert the bows, ribbons or barrettes of your choosing.
5- And Voila!! A Perfectly spunky do for your precious little girl.
Enjoy your day together!
-The Homestylemom
Tuesday, October 21, 2008
Playtime Piggies
Whoa! Those are some big ol' bows!! I love to sew and have purposed to set aside time for this beneficial and enjoyable activity. I am introducing this skill to my girls as well. Here you will find tutorials, tips, and pictures of projects I am currently working on as well as lovely finds from across the Web. This is a Nemo themed set that I sewed for Firefly along with the bows I designed to accompany it. The pattern for the top can be found here. It is by Dainty Designs and it is completely adorable! We took lots of pictures because I am planning to use this set as the photo on my business cards. I took the pics without a shirt underneath because this October weather here in GA has been so HOT!
The Homestylemom
The Homestylemom
Saturday, September 27, 2008
Party Pigtails
I love my 2 little girls. I love that they are girls. I love that they play with girls... That is precisely what they are GIRLS! What is the big deal if they like to play swords or guns or soccer? Does it matter what they play with and how they play? I believe so. That is why I plan to purposely dress them and train them for their role as girls, ladies, and women. We talk often as we are playing together about how much I enjoy being their mommy and that I wouldn't be happy doing anything else. Girlhood is short so make the most of it!
Here is a shot of Firefly getting ready for her 4th birthday.It's not the best 'do for her little bob but it allows me to add some pizazz up top for her big day.
1- With your rattail comb just part the hair slightly off center (or whatever your parting preference is) then, 2- collect two even sections from in front of the ears on each side. 3-Secure with elastics. I find that I like to do this so that the style lasts all day. Her hair remains secure and in place without the assistance of the bows. They are just there to be the "icing on the cake" so to speak. 4- Add your bows or ribbon of choice and you are good to go.
I just love how these loopy bows turned out! They are bright and cheery just like Firefly..
-The Homestylemom
Subscribe to:
Posts (Atom)
