Cute Hairstyles for Your Lil' Honey!

Inspiration for Today

Homespun HoneyBee Designs

Copyright 2006-2012 Homespun HoneyBee Designs. Powered by Blogger.
Showing posts with label girls hair bows hairstyles. Show all posts

Saturday, April 21, 2012

Double Braid Headband - Spring Style Countdown #7

These gorgeous spring days have been calling us outdoors.  As soon as our schoolwork and chores are finished we have been bursting to get outside each day.  The temperature has been so mild that it is hard not to just get out and enjoy the great outdoors.  My girlie is especially fond of being outside but hair in her face when she's running and hiding just won't do!  I came up with this style to serve as a stand-alone do that requires no additional accessory, but you could certainly add one if that suits you.  We even fancied this up at the end with some curls just in case you might be headed out for a special lunch date with Grandpa.  This will require that you know how to do a regular 3-strand braid.  Ready? Well, grab your tool kit and we'll begin the Double Braid Headband.
1-  Start by parting the hair on the side and then also do a horizontal part from the side part to the ear.  Make it pretty high up on the crown, approximately where a headband would sit.
2- To help secure the hair out of the way, clip the section of hair from the crown of the head so that the part remains clean.
3- Part the "bangs" into two even sections that run parallel to the crown.  Begin braiding the front section by dividing it into 3 equal strands.
4-Once you have 3 or 4 plaits of the braid done, begin adding small sections from the hair as needed to incorporate it into the braid.  This is similar to French Braiding but you will only be adding from the left side.
  I add the section to my leftmost strand, bring the left to the middle, then right strand to the middle.  Add new section to the left strand, left to the middle, right to the middle, add new strand to the right...  Repeat this process until there is no more hair to add and secure temporarily with an elastic.


5- Take the second section of hair that is in front of the crown, divide it into 3 equal strands and braid again as before, adding strands to the leftmost section as you move your way down the head towards her ear.

6- At the bottom, blend both front and back sections into one new braid and secure at the bottom with a tiny elastic.

7- Leave that strand for now and move to the other side of her head.  Mist the hair to help with fly-aways and smooth a section of hair from the front of her head to the ear.  Separate this section into 3 strands and braid normally down the length of the hair.

8- Combine the two braided strands at the nape of the neck and secure with an elastic.
9- Essentially you are now done with this style.  You can brush through the back and let her run free!
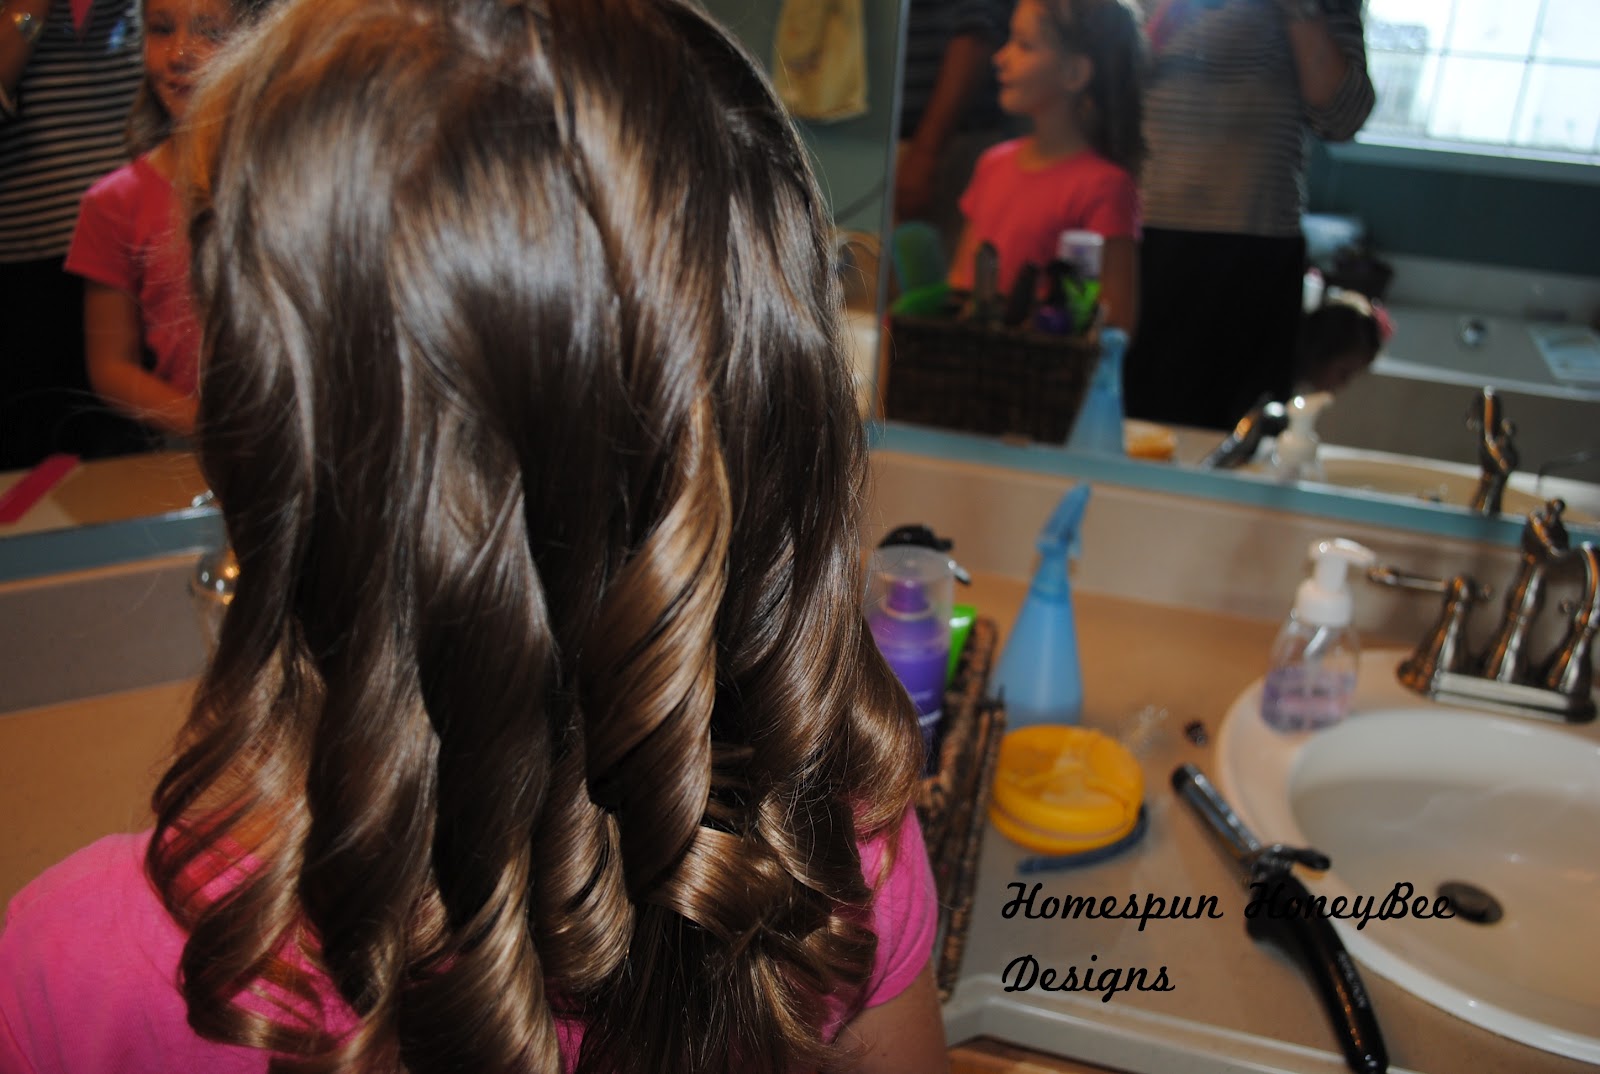
Or........you can choose to take it up a notch!  Today I chose to add some curls since Lynnie is the only one of my four girls that seems to have hair with no curl or wave.  If I needed these to last I would set them overnight.  Since we are on the go, I chose to just give her some wave with the curling iron.  I began by misting her hair with some heat protectant and spiral rolled medium sections of her hair all across the back.  To get extra fancy, you could even tease the hair at the crown first for that adorable "big hair" bump.

Pick or finger-comb through the ringlets.
Here are a few shots of the final style.  All in all, we invested 20 minutes on this style.  Not our usual "quickie" hairdo, but it can be if you omit the curls at the end.  Enjoy!

Sunday, February 12, 2012

Over The Top Twists


Try this for: Short to medium hair.  Skill Level - 2.5 Time Factor - 2.5 Cuteness Factor - 3
Warmer weather will be here soon.  Do you need a fun Sunday Morning hairdo?  Is your little girl in a wedding this spring?  Then this hairstyle may be the answer you are looking for.  Grab your toolbox, plug in your heat styling tool of choice and let's begin.  We are going to need about 30 minutes for this trendy updo.
1- Part out a circular section of hair right at the crown and secure it with an elastic or clip.
2- Spray and part the bangs in your favorite location.  We are side parters.
3-  Take the bangs on the right side and separate into two sections and begin to twist.  Go here if you need a twist tutorial.  You may want it soft.  I like to comb as I go to keep it very tight and neat.  Keep it rather high and straight rather than following the hairline down.  When you get to the center back, secure with an elastic or clip.
4-  Repeat on the left side of head as well.
5- Gather the two twists into an elastic at the back of the head as shown below.
6- Using your fingers or TT tool, pull the ponytail up from the bottom and out the top.
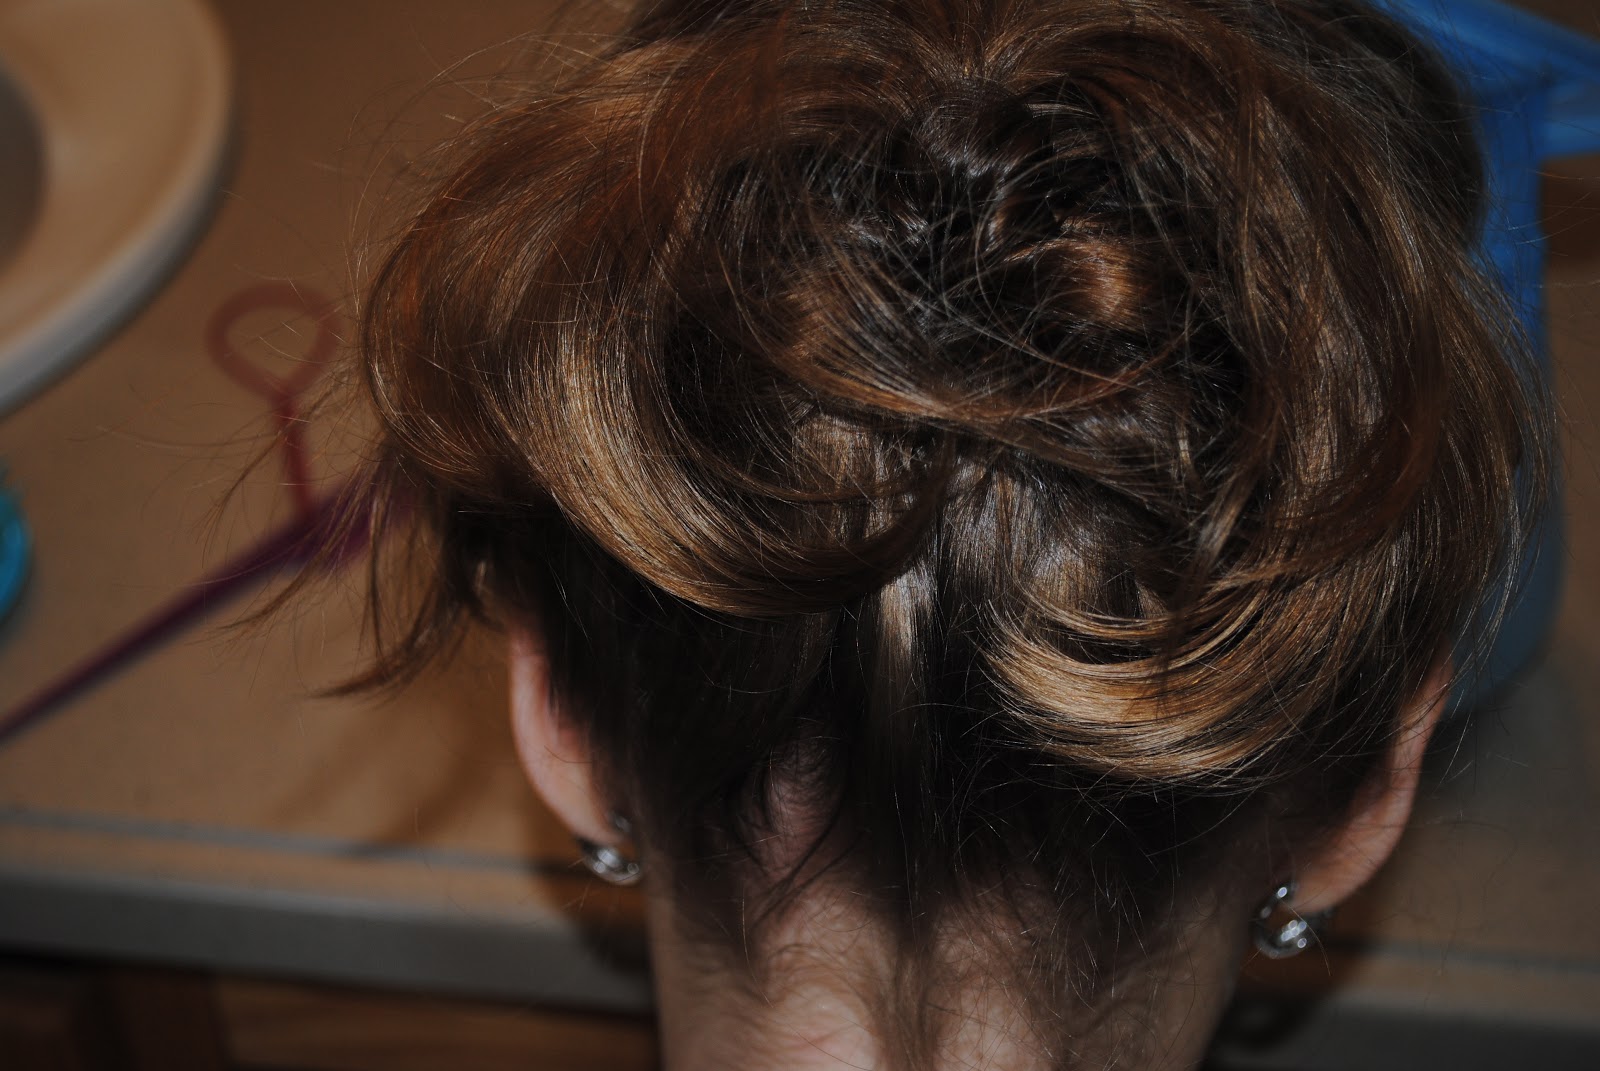
7- Fluff and tease this hair as desired.  This will help fill out and "fluff" your updo.
8- Gather and prepare several bobby pins for use.  Twist the center section of hair and secure with as many bobby pins as you need to make it secure atop her head.  Be sure to anchor them by criss-crossing for best staying power.
9- Spray remaining hair with heat protectant.  We like Aussie because it smells good :)
10- Use your curling iron or favorite heat styling tool to curl SMALL sections of hair.
11- Repeat as much or little as desired to create piles of curls, strands of ringlets, or just fullness with the hair.
12- Take some photos and enjoy your lovely little girl and her special day!


This would look terrific adorned with tiny fresh flowers, a sparkly headband, or even a simple ribbon.
For some great accessory ideas be sure to check out my shop.  Enjoy 15% off any item with THIS WEEKS COUPON CODE: BRRR2012. 
Now go enjoy your day!
-The Homestylemom

Monday, January 30, 2012

Have a Curl and a Smile

 Skill Level -1 Time Factor -1.5 Cuteness Factor -2.5
Try this on: Babies or Toddlers with little or no hair.  My model today is Merry.  As a toddler she spends most of her time playing.  Often she is on the floor with her blocks, dolls, or puzzles, looking down at the ground.  At this stage my goal with her hair is mainly just to keep it out of her eyes as it is growing in.  The back is pretty well past her shoulders when sopping wet, and curls up nicely when dry.  For this play day style you will need your toolbox with 4 elastics ready to use.  I sprayed her dry hair with water and massaged in a dimes worth of our favorite Curling Creme to separate and define her sweet little curls in the back.
1- Separate the front of the hair by parting it with your rat tail comb from ear to ear.  Part again down the middle in the front.  Take a section from the left side of the part and secure it into an elastic.  Take the ponytail from that elastic and join it with the bottom section of hair and secure into another elastic.
2- Repeat on the other side of head.
And voila!! You have a curl and a smile:
  Use THIS WEEKS COUPON CODE: SPRUNG12 for 20% off any purchase in my shop.
Now go enjoy your day!
-The Homestylemom

Sunday, January 22, 2012

Elegant Side Pony Twists

Elegant Side Pony Twists
Lately Ruby's hair has been so naturally lovely when it's down that I hate to pull it back.  Since it is winter she usually doesn't mind having it down to keep her warm.  I was feeling creative today so I decided to try another variation on twists.  This really is a lovely, soft look that is perfect for tweens and older girls as well.  Ruby's curls are clean and have dried naturally.  We gathered the toolbox and she picked through her locks.  Skill level -3, Time Factor -3 and Cuteness Factor -3.
1-Start with tangle-free hair that you've sprayed in front to help with neatness and fly aways.
2-With your rat tail comb, part hair on the outside of the eyebrow.  Come across diagonally until just on top of the opposite ear.
3-Remembering that this look is somewhat soft and loose, begin by gathering two small sections from the front of the head and twist one over the other.   Twisting the hair is very similar to a French braid, except you are working with two strands rather than three.  Although this look is soft, I still stop and comb through as I go to keep the twists neat.  When you finish gathering hair from the scalp, continue twisting until the end of the length of hair.
4- Clamp or have her hold the hair twist.   Neatly begin another section behind the first and gather and twist as before all the way down the length of her hair.
5-  With the two twisted sections out of the way, begin smoothing and gathering the rest of the hair into a low side ponytail.
6- Gather and secure with an elastic.  Pull back the two strands and wrap them once around the back of the ponytail and secure into the elastic.  You could add bobby pins if you feel they are necessary to secure the twists.
7- This look is perfect as is.  Or, add your bow and you're good to go!
Now go enjoy your day! -The Homestylemom