Cute Hairstyles for Your Lil' Honey!

Inspiration for Today

Homespun HoneyBee Designs

Copyright 2006-2012 Homespun HoneyBee Designs. Powered by Blogger.
Showing posts with label headband hairstyles. Show all posts

Sunday, February 12, 2012

Over The Top Twists


Try this for: Short to medium hair.  Skill Level - 2.5 Time Factor - 2.5 Cuteness Factor - 3
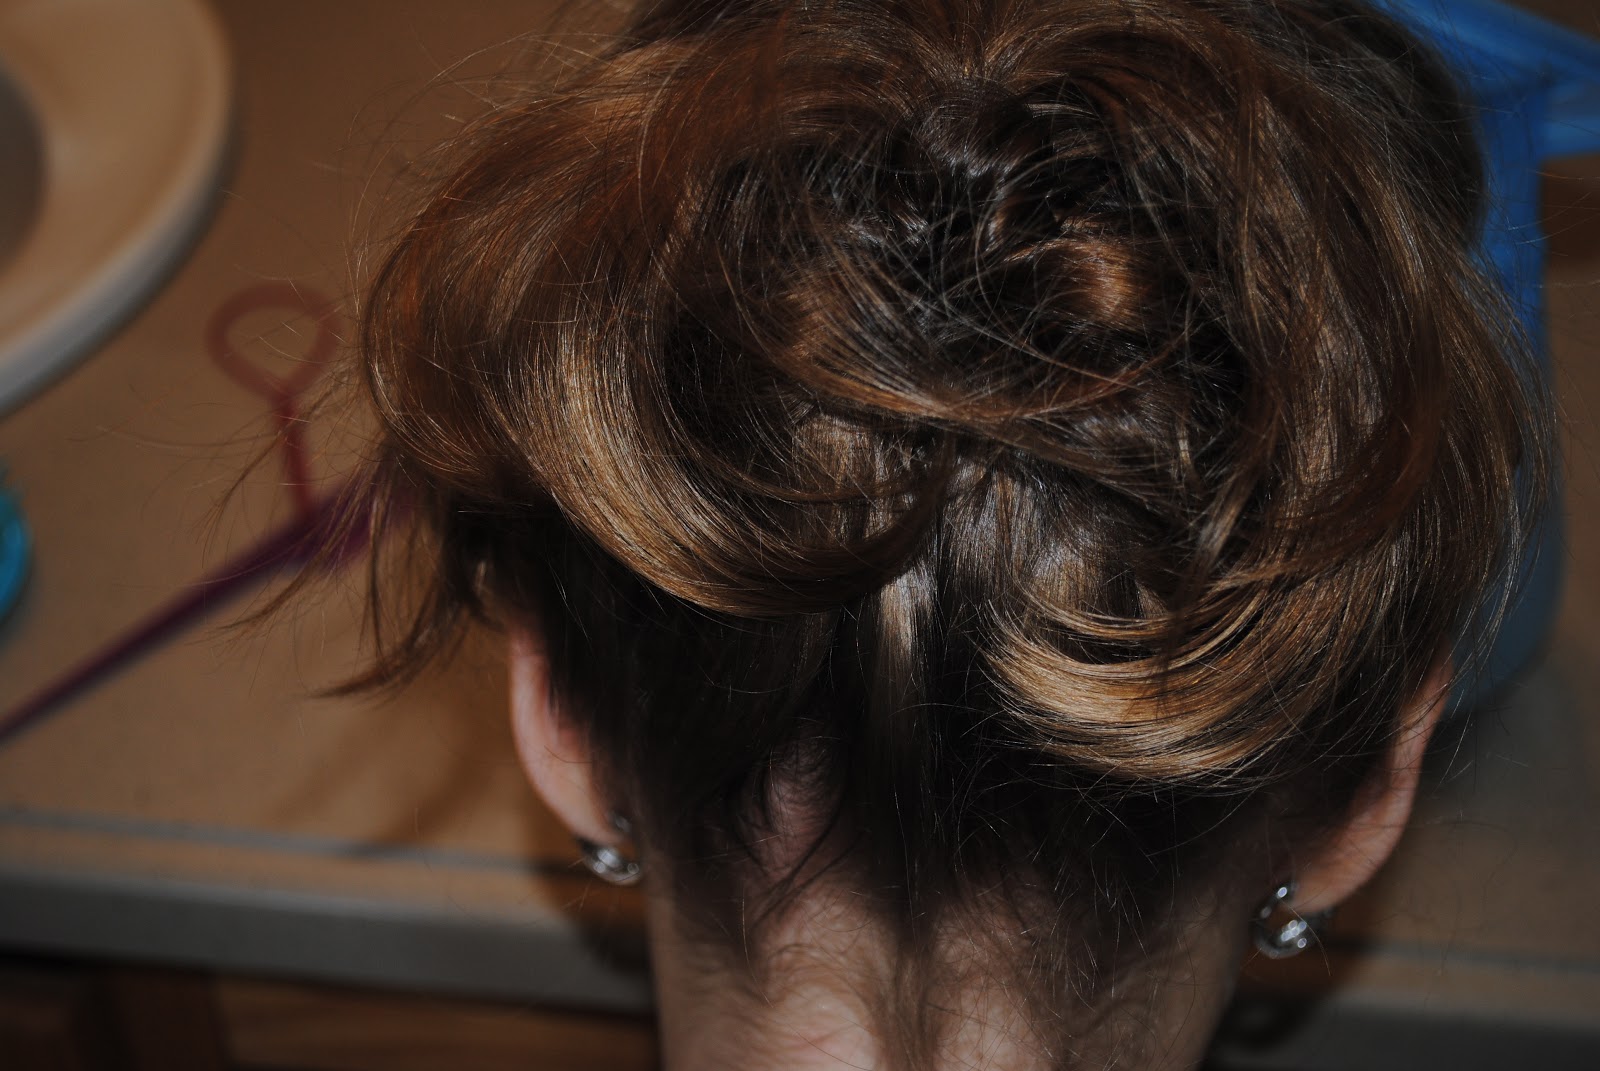
Warmer weather will be here soon.  Do you need a fun Sunday Morning hairdo?  Is your little girl in a wedding this spring?  Then this hairstyle may be the answer you are looking for.  Grab your toolbox, plug in your heat styling tool of choice and let's begin.  We are going to need about 30 minutes for this trendy updo.
1- Part out a circular section of hair right at the crown and secure it with an elastic or clip.
2- Spray and part the bangs in your favorite location.  We are side parters.
3-  Take the bangs on the right side and separate into two sections and begin to twist.  Go here if you need a twist tutorial.  You may want it soft.  I like to comb as I go to keep it very tight and neat.  Keep it rather high and straight rather than following the hairline down.  When you get to the center back, secure with an elastic or clip.
4-  Repeat on the left side of head as well.
5- Gather the two twists into an elastic at the back of the head as shown below.
6- Using your fingers or TT tool, pull the ponytail up from the bottom and out the top.
7- Fluff and tease this hair as desired.  This will help fill out and "fluff" your updo.
8- Gather and prepare several bobby pins for use.  Twist the center section of hair and secure with as many bobby pins as you need to make it secure atop her head.  Be sure to anchor them by criss-crossing for best staying power.
9- Spray remaining hair with heat protectant.  We like Aussie because it smells good :)
10- Use your curling iron or favorite heat styling tool to curl SMALL sections of hair.
11- Repeat as much or little as desired to create piles of curls, strands of ringlets, or just fullness with the hair.
12- Take some photos and enjoy your lovely little girl and her special day!


This would look terrific adorned with tiny fresh flowers, a sparkly headband, or even a simple ribbon.
For some great accessory ideas be sure to check out my shop.  Enjoy 15% off any item with THIS WEEKS COUPON CODE: BRRR2012. 
Now go enjoy your day!
-The Homestylemom

Wednesday, June 11, 2008

The Accessory Aisle: Headbands II


Skill level -4, Time Factor -3, Cuteness Factor -3
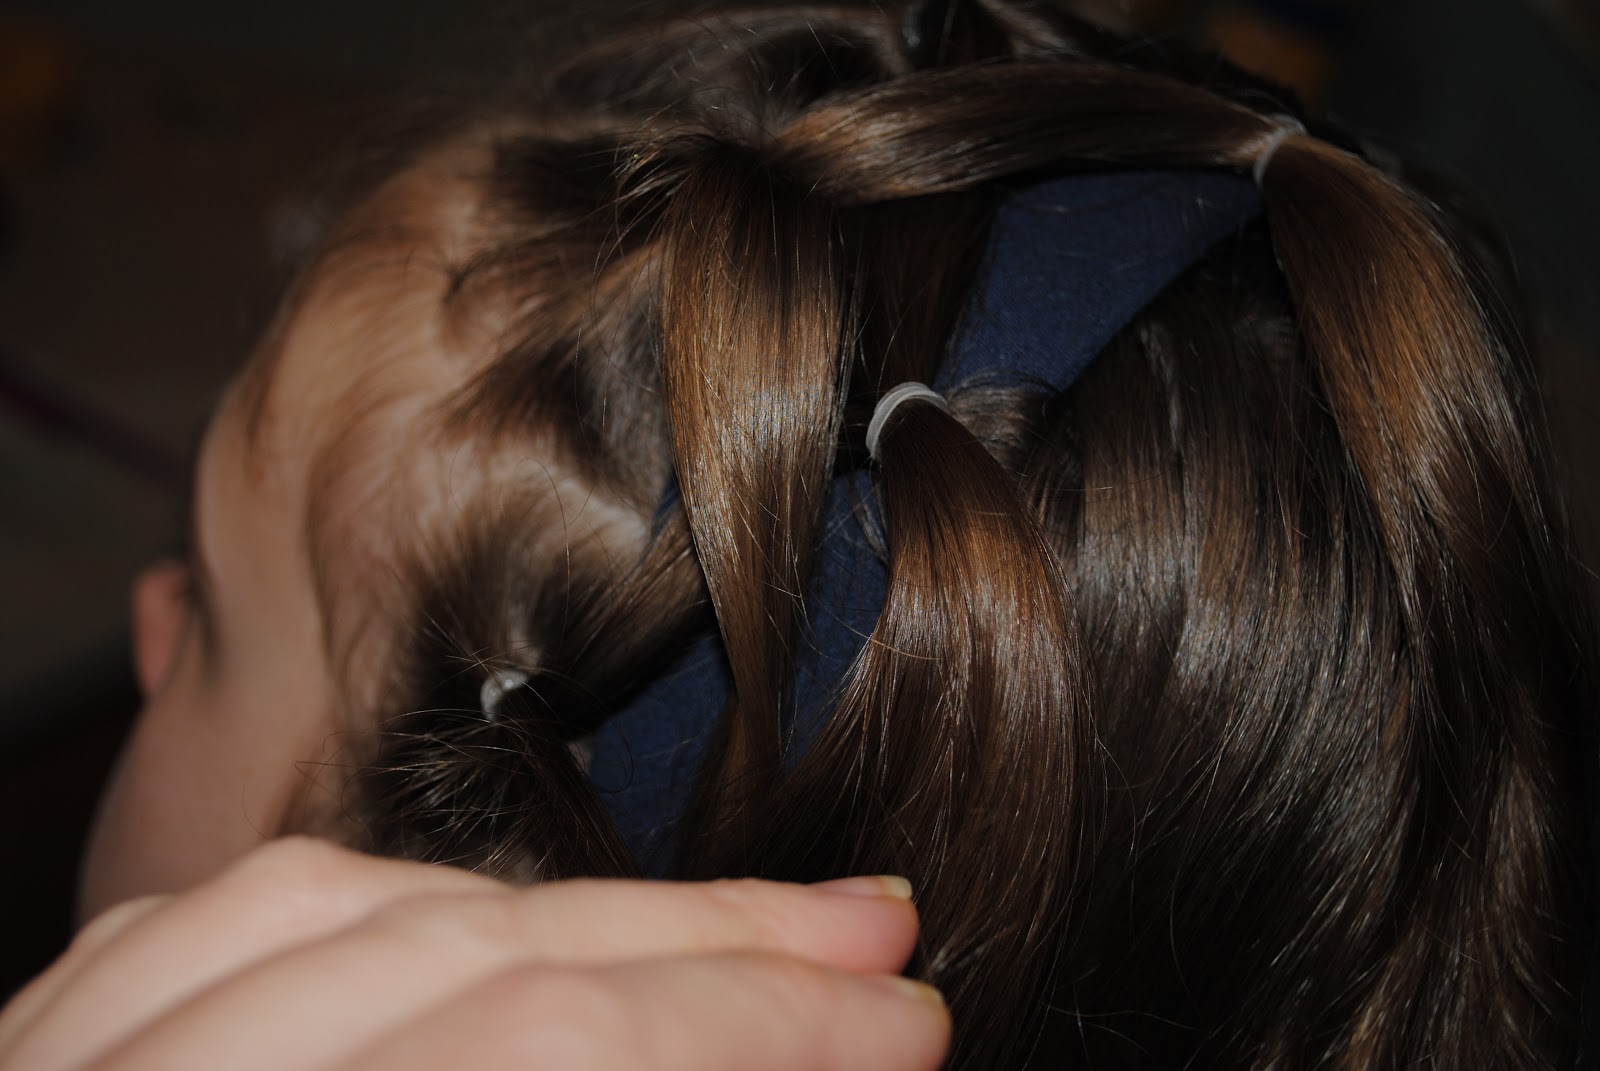
So last week I vowed to find a way to keep a headband in my lil' lady's hair.  I've decided to try to weave it in place.  Firefly's hair bob is just too short for me to try to weave something into it so I used Ruby's thick, wavy tresses instead.  She's got the curly locks rather than the straight strands that this style would be more suited for, but here goes.  You will need several elastics, based on the number of sections you'd like to make.  We made 6 across the front. Instructions are below each photo.
1- Begin by parting the hair from ear to ear.  Pull back the remainder of the hair into a ponytail elastic to keep it out of your way.

2- Divide the front hair in half and get one side out of your way.

3- Separate each half into three sections that you secure close to the scalp with elastics.

4- Here are our 6 sections across the front.

5- Now place the headband in the hair.  Split the front two ponies in half and cross your two front center pieces over each other forming an X.

6-Secure these X'ed ponies into an elastic.  Use just a small section of hair from the crown.  Secure it closely to the headband in order to hide it and to keep from having the "slide up lumps" when you tighten them.
NOTE:  I should have used the elastics we have that match her hair color in order to avoid the stark contrast.  You really want the pony elastics to not show.

7- Continue to divide, X, and secure from the middle out until you are left with one remaining outside tail at each ear.
  8- Grab one final elastic and have her pull her hair up off her neck and hold.

9- Secure this section with an elastic at the nape of her neck.
10- You should have something that looks like this.  As you can see, the elastics contrast too much and the headband is too dark for her hair color.  It should have been lighter.
Thanks for your patience, Ruby.  You are a jewel!!
Now go enjoy your day with your headband in place!
-The Homestylemom

Monday, June 2, 2008

The Accessory Aisle: Headbands

My girls, especially Firefly, love to wear headbands.  I may be stubborn as a mule, but I really hate headbands!  I go through the trouble to get their hair all smooth and silky and then I carefully arrange the headband in their heads and away we go.  Moments later, the headband is out, being played with or repositioned, and she looks like her hair was never combed today.  I want the girls to wear and enjoy the lovely accessories I take the time to create for them, but I won't sacrifice them having ratty looking hair for that.  I am working on some 'dos that will be headband AND mom friendly.  I'll get back with those as soon as I can.  In the meantime, here are some of the headbands I've been working on.
These are just the plain grosgrain-wrapped headbands with interchangeable loops.

And here are some with the bows permanently attached.  They are so delicate and sweet and look great in the girls' hair.  I just need them to stay in like the hairbows do! Maybe I'll have to weave them in place...hmm?
-The Homestylemom