Showing posts with label twists. Show all posts
Thursday, June 7, 2012
Knotty Piggies. Hairstyle Countdown #4.
I promised 7 new styles for your spring hair enjoyment, so this installment is the 4th. Here is my precious 2 year old. She is just beginning to have hair long enough to put up and has been requesting pigtails. What little girl doesn't want those adorable fountains of hair that demonstrate such personality and cuteness? This style will take some time as it features two rows of interest before you get to the pigtails.This style would do great on any young girl who spends her days playing and exploring God's creation. Her hair is fairly curly so the pigtails ended up looking so springy. The front of the hair is not quite long enough with all of the new baby hairs that keep sprouting. The row of knots and then the twist braid works perfectly to keep these little hairs under control. Now go get your hairstyle took kit and let's get started!
Begin with a fairly deep part on one side and then part out the first row of bangs and comb it forward. Clip the remaining hair from the top of the head out of the way so that you have a nice crisp part.
The front "bang" area is going to be divided into three pony-tailed sections. Make the first ponytail like this.
Grab your Topsy Tail tool from your kit, or use your fingers to push the ponytail down under itself from left to right forming a knot. Comb this hair into the second section and secure into the second elastic. Make the second knot in the same way you made the first.
Now gather the remaining hair in the front with the tail from the second knot and make your third ponytail section. Knot this third ponytail as well. We are now ready to begin the second row...Twist Braid!!
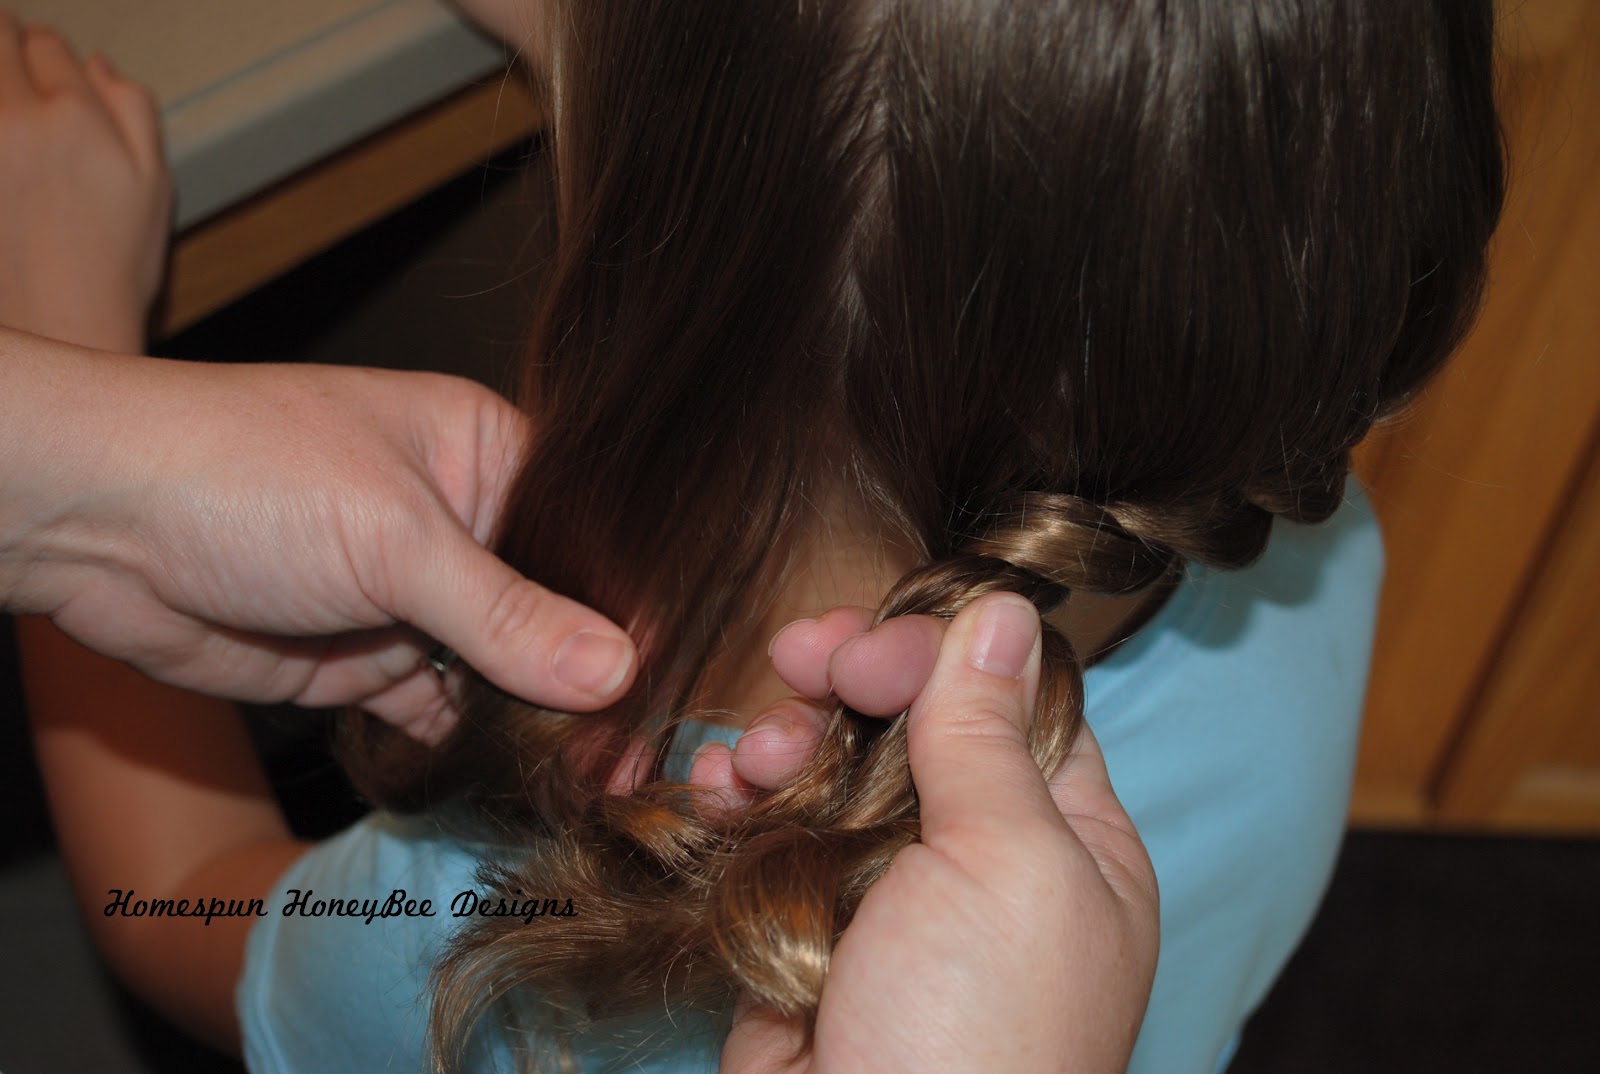
Part out a section of hair between the crown of her head and the knotted bangs. This will become our Twist Braid row. Go ahead and begin your twist with the hair that is over at the side part. If you need my twist braid tutorial, it's here.
Twist across the top of her head. I did it fairly securely as I did not want any fly aways to pop out.
Once you get to the top of her ear you will need to grab the tail that remains from the front section.
Braid the tail of the Twist Braid and the front Knotted Ponytail together. Secure with an elastic at the bottom.
Now, go to the opposite side of her head and just do a basic braid. I love these sweet little skinny braids!
You may need to grab your spray bottle again. It's time to part for the piggies. What I did here was this: I took my rat-tail comb and began at the side part and made a diagonal "zig" over to the middle of the back of her head. Then I ran the tail straight down to the base of her neck and combed the hair to separate it. This created a nice, tidy part line. For people like me, a straight, neat part is VERY important. Secure the left pigtail and the braid wherever you prefer with an elastic.
Now spray and comb back the hair from the right side. Don't forget to add in the braid here too. I just adore these sweet, round little puffs of hair.
And here is the finished hairstyle for you to view.
So she finally got her piggies, and I, for one, think they are precious. If you love these Pinwheel Bows, you can get them here in my shop. Tangerine is "the color" for this season. Use this week's Coupon Code: PIGTASTIC at checkout to receive 15% off any item in my store. Now go create some Knotty Piggies of your own to enjoy!
-HoneyBee
Wednesday, May 23, 2012
Braided Side Bun. Countdown #5.
What says spring more than flowers blooming? How about instead of a flower bud tucked behind her ear there was a braid blooming there instead? This sweet hairstyle is just right for Sunday morning as it goes really quickly. Grab your hairstyling tool kit and let's get started!
Begin with smooth, tangle-free hair that is parted on your preferred side. This time we will plan to have the braid tucked behind the ear on the small side of the part.
At this point I sectioned out the front of the hair and did a half French Braid back to the ear with the intention of adding the cascading strands into the Twist Braid below. Since it did not really show up well in the final style I will not bother to give the tutorial on that today.
Here I am adding in the hair from the braid above to the twist below. All you will need to do is separate the front of the hair into two small sections and begin your Twist Braid. The tutorial is here if you need it.
Twist braid continues down past her ear and along the back of the head.
Along the back until just behind the ear.
Braid the small section of hair from the side of the part that is just in front of her ear. Stop when you get behind her hear.
Add the hair that is hanging free below that small braid to the two strands from the Twist Braid.
Braid them together for however long her lovely locks are. We have layers at the ends so I had to stop short so they would not pop out.
Secure with a small elastic and begin to roll hair like a cinnamon bun.
Roll and coil the hair so that it resembles a blooming flower. Place it behind the ear where you desire.
Hold firmly in place and secure with bobby pins or clips. Here I am using my "Good Hair Days" plastic pins that you can read about on my Tools page.
I really like how well they secure the hair and blend so well. They require far fewer than bobby pins if you have a lot of hair to secure.
And voila! A pretty bud bursting from her hair.
Here are some shots of the finished style. You can see in these just how the top braid is barely noticeable. That is why I didn't bother giving a tutorial for it with this hairstyle.
Such a cute hairstyle for girls who are ready for spring!
This weeks code for Free Shipping in my shop is: BLOOMERS. Now go enjoy your day with an adorable head of hair!
-HoneyBee
Begin with smooth, tangle-free hair that is parted on your preferred side. This time we will plan to have the braid tucked behind the ear on the small side of the part.
At this point I sectioned out the front of the hair and did a half French Braid back to the ear with the intention of adding the cascading strands into the Twist Braid below. Since it did not really show up well in the final style I will not bother to give the tutorial on that today.
Here I am adding in the hair from the braid above to the twist below. All you will need to do is separate the front of the hair into two small sections and begin your Twist Braid. The tutorial is here if you need it.
Twist braid continues down past her ear and along the back of the head.
Along the back until just behind the ear.
Braid the small section of hair from the side of the part that is just in front of her ear. Stop when you get behind her hear.
Add the hair that is hanging free below that small braid to the two strands from the Twist Braid.
Braid them together for however long her lovely locks are. We have layers at the ends so I had to stop short so they would not pop out.
Secure with a small elastic and begin to roll hair like a cinnamon bun.
Roll and coil the hair so that it resembles a blooming flower. Place it behind the ear where you desire.
Hold firmly in place and secure with bobby pins or clips. Here I am using my "Good Hair Days" plastic pins that you can read about on my Tools page.
I really like how well they secure the hair and blend so well. They require far fewer than bobby pins if you have a lot of hair to secure.
And voila! A pretty bud bursting from her hair.
Here are some shots of the finished style. You can see in these just how the top braid is barely noticeable. That is why I didn't bother giving a tutorial for it with this hairstyle.
Such a cute hairstyle for girls who are ready for spring!
This weeks code for Free Shipping in my shop is: BLOOMERS. Now go enjoy your day with an adorable head of hair!
-HoneyBee
Wednesday, March 7, 2012
Princess for a Day
Try this for: Any hair type. Skill Level -2 Time Factor -2 Cuteness Factor-2.5
When your princess is requesting a crown for her head, why not try this?
My little Merry wanted a "princess head" so this is what I came up with. With her, my goal is always to sweep the hair away from her sweet little face so I can see what she is up to! After misting her hair lightly with water I gave it a heavy zigzag part. Each side was then pulled into an elastic parallel to the top of each ear. I then pulled each pony through with a Topsy Tail at the top of her ears. Then I gave each of those little ponies a twist braid. If you are not familiar with how to do a twist braid, visit here for a quick and easy Youtube video tutorial to see how it's done. Here are a couple shots of each side of her head.
As you can see, the two twists are just neatly pulled back into a shared elastic that causes the braid to sit atop her head much like a crown would. Easy peasy!!
I think she is pleased with how her "princess head" turned out. What do you think?
If you are looking for something sweet to accessorize your Sweeties use THIS WEEKS COUPON CODE: SPRING BLING for 15% off any item in my shop. Now go enjoy your day!
-The Homestylemom
When your princess is requesting a crown for her head, why not try this?
My little Merry wanted a "princess head" so this is what I came up with. With her, my goal is always to sweep the hair away from her sweet little face so I can see what she is up to! After misting her hair lightly with water I gave it a heavy zigzag part. Each side was then pulled into an elastic parallel to the top of each ear. I then pulled each pony through with a Topsy Tail at the top of her ears. Then I gave each of those little ponies a twist braid. If you are not familiar with how to do a twist braid, visit here for a quick and easy Youtube video tutorial to see how it's done. Here are a couple shots of each side of her head.
As you can see, the two twists are just neatly pulled back into a shared elastic that causes the braid to sit atop her head much like a crown would. Easy peasy!!
I think she is pleased with how her "princess head" turned out. What do you think?
If you are looking for something sweet to accessorize your Sweeties use THIS WEEKS COUPON CODE: SPRING BLING for 15% off any item in my shop. Now go enjoy your day!
-The Homestylemom
Sunday, February 12, 2012
Over The Top Twists
Try this for: Short to medium hair. Skill Level - 2.5 Time Factor - 2.5 Cuteness Factor - 3
Warmer weather will be here soon. Do you need a fun Sunday Morning hairdo? Is your little girl in a wedding this spring? Then this hairstyle may be the answer you are looking for. Grab your toolbox, plug in your heat styling tool of choice and let's begin. We are going to need about 30 minutes for this trendy updo.
1- Part out a circular section of hair right at the crown and secure it with an elastic or clip.
2- Spray and part the bangs in your favorite location. We are side parters.
3- Take the bangs on the right side and separate into two sections and begin to twist. Go here if you need a twist tutorial. You may want it soft. I like to comb as I go to keep it very tight and neat. Keep it rather high and straight rather than following the hairline down. When you get to the center back, secure with an elastic or clip.
4- Repeat on the left side of head as well.
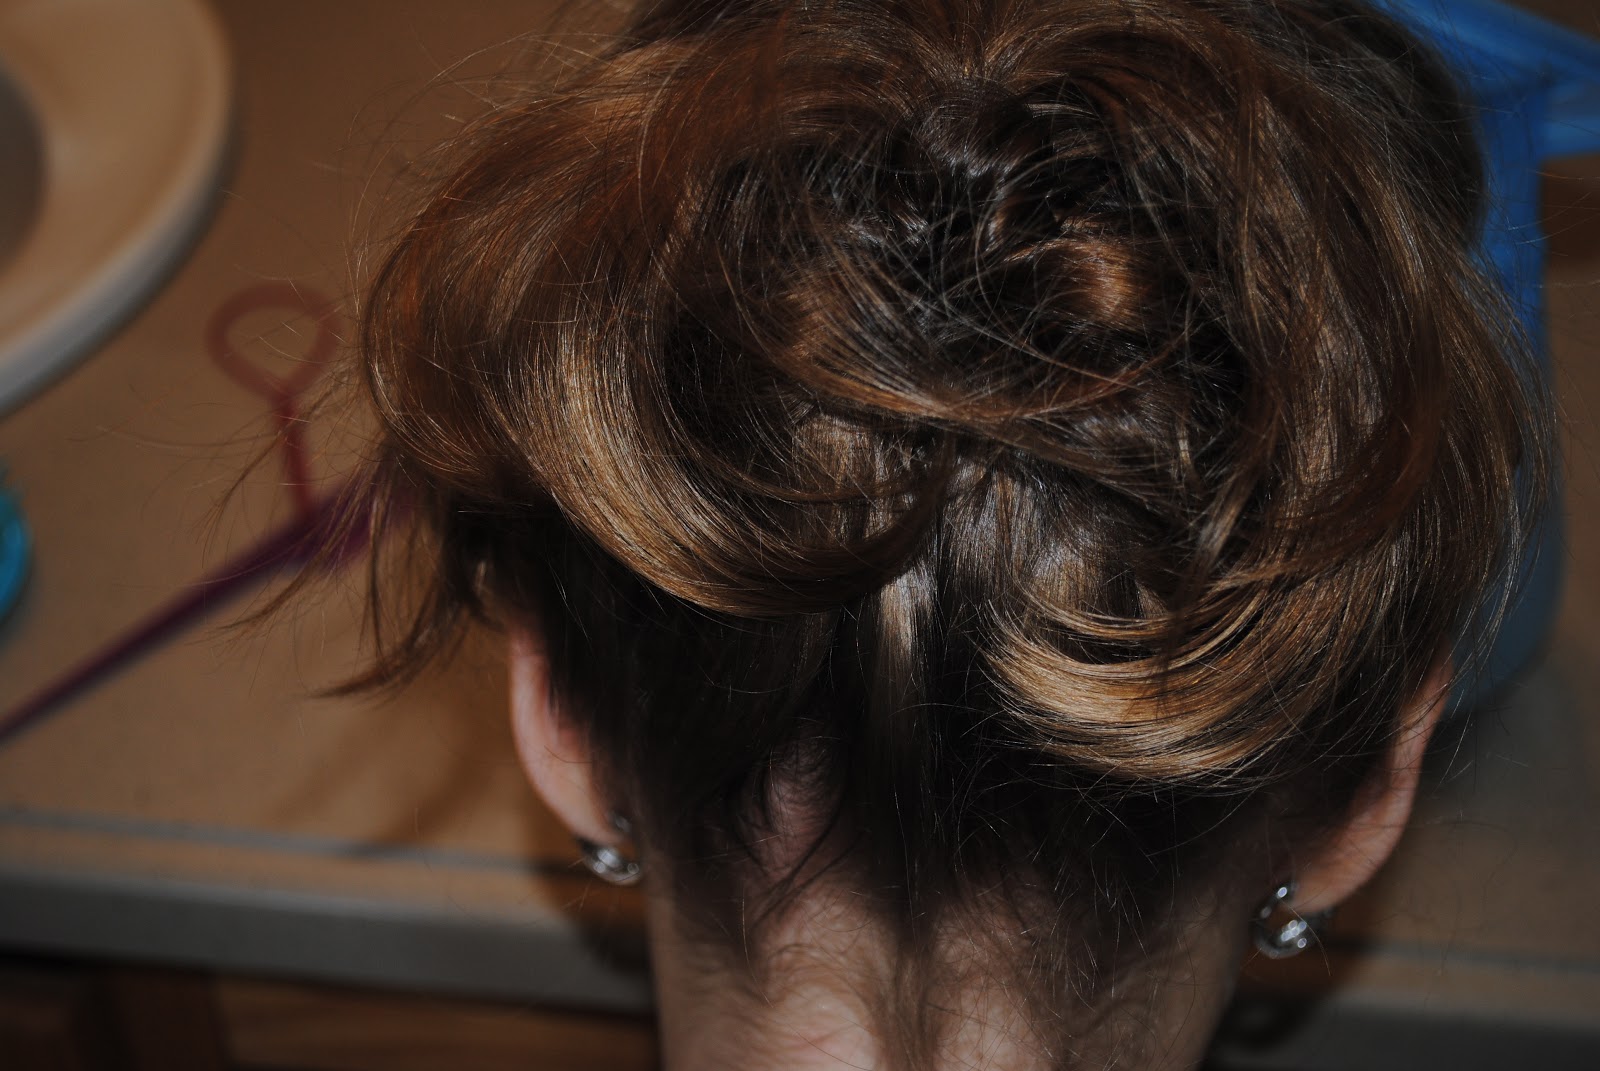
5- Gather the two twists into an elastic at the back of the head as shown below.
6- Using your fingers or TT tool, pull the ponytail up from the bottom and out the top.
7- Fluff and tease this hair as desired. This will help fill out and "fluff" your updo.
8- Gather and prepare several bobby pins for use. Twist the center section of hair and secure with as many bobby pins as you need to make it secure atop her head. Be sure to anchor them by criss-crossing for best staying power.
9- Spray remaining hair with heat protectant. We like Aussie because it smells good :)
10- Use your curling iron or favorite heat styling tool to curl SMALL sections of hair.
11- Repeat as much or little as desired to create piles of curls, strands of ringlets, or just fullness with the hair.
12- Take some photos and enjoy your lovely little girl and her special day!
This would look terrific adorned with tiny fresh flowers, a sparkly headband, or even a simple ribbon.
For some great accessory ideas be sure to check out my shop. Enjoy 15% off any item with THIS WEEKS COUPON CODE: BRRR2012.
Now go enjoy your day!
-The Homestylemom
Labels:
Big Girl,
Church Hair,
curly,
fancy,
Fine,
girl hairstyles,
girls hair bows hairstyles,
headband hairstyles,
medium,
short hair,
Summer Hair,
Sunday Tresses,
Tween,
twists,
UpDo
Subscribe to:
Posts (Atom)