1- Start by parting the hair on the side and then also do a horizontal part from the side part to the ear. Make it pretty high up on the crown, approximately where a headband would sit.
2- To help secure the hair out of the way, clip the section of hair from the crown of the head so that the part remains clean.
3- Part the "bangs" into two even sections that run parallel to the crown. Begin braiding the front section by dividing it into 3 equal strands.
 4-Once you have 3 or 4 plaits of the braid done, begin adding small sections from the hair as needed to incorporate it into the braid. This is similar to French Braiding but you will only be adding from the left side.
I add the section to my leftmost strand, bring the left to the middle, then right strand to the middle. Add new section to the left strand, left to the middle, right to the middle, add new strand to the right... Repeat this process until there is no more hair to add and secure temporarily with an elastic.
5- Take the second section of hair that is in front of the crown, divide it into 3 equal strands and braid again as before, adding strands to the leftmost section as you move your way down the head towards her ear.
6- At the bottom, blend both front and back sections into one new braid and secure at the bottom with a tiny elastic.
7- Leave that strand for now and move to the other side of her head. Mist the hair to help with fly-aways and smooth a section of hair from the front of her head to the ear. Separate this section into 3 strands and braid normally down the length of the hair.
8- Combine the two braided strands at the nape of the neck and secure with an elastic.
9- Essentially you are now done with this style. You can brush through the back and let her run free!
Or........you can choose to take it up a notch! Today I chose to add some curls since Lynnie is the only one of my four girls that seems to have hair with no curl or wave. If I needed these to last I would set them overnight. Since we are on the go, I chose to just give her some wave with the curling iron. I began by misting her hair with some heat protectant and spiral rolled medium sections of her hair all across the back. To get extra fancy, you could even tease the hair at the crown first for that adorable "big hair" bump.
Pick or finger-comb through the ringlets.
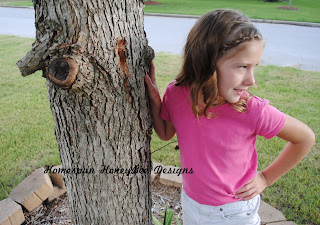
Here are a few shots of the final style. All in all, we invested 20 minutes on this style. Not our usual "quickie" hairdo, but it can be if you omit the curls at the end. Enjoy!


No comments:
Post a Comment